
Bleaching Dark Roots - Without Banding
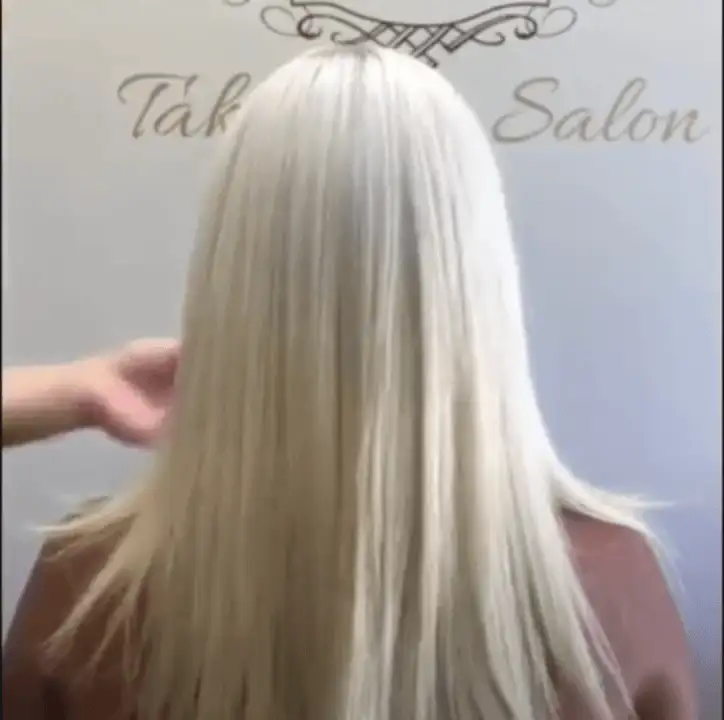
- Our model in the picture above waited a little too long to come in. So we have a huge, extremely dark regrowth, although her lengths are super white blonde.
- This is going to be a little tricky, because there could be banding issues unless we do it right.
- In this tutorial Elona Taki is going to show us how to bleach and tone.
Step One - Lifting the Regrowth
- We mix Brilliant Blonde Lightener with 30 Vol. Make it fairly pasty, so a little less developer than usual, say 1 part lightener to 1.5 parts lightener.
- In this case as we want to deposit a lot of mixture and really saturate and lift this extremely dark regrowth.
- Start working on the back. With bleach you really need to work fast to give all the hair an equal processing time.
- So some hair stylists may decide to start off with 20 Vol on the back, and then move on to a fresh mix with 30 Vol on the top, as this area is going to get less processing time by the time you get around to the top.
- Alternatively, stay with the same mix, but move really really fast.
- Stay just a little (1/8 inch) away from the scalp, the mixture will travel up. The scalp creates heat, and this can lead to overprocessing on the root area, leading to banding issues.
- At the same time you need to be careful in this case not too overlap over the lengths as they are really really white.
- Place a lot of product on the hair with the brush. Hold it firmly and press because you do need to really saturate the product.
- Work section by section and re-saturate. Take down piece by piece and go over it one more time.
- Don't just leave your client and walk away, with bleach you need to check, check, check!.
- If you have overlapped with the lengths, now is your chance to take a towel and rinse off on those parts to avoid banding (bleaching onto already white hair will make it very very white) and even to avoid breakage.
- In this case, we took around 20 minutes of processing.
- Make sure you get it all the way up to a true pale yellow. Don't wash off too soon!
- You can rinse off a piece from the back to check.
Apply Bleach to the Dark Root Area - Do Not Overlap

Step Two Rinse and Apply Toner
- We are going to tone with Pearl Blonde toner (10V).
- We are going to use 10 Vol developer.
- We can apply these toners straight away on wet hair. You can even apply at the back wash if you prefer.
- In this case, the lengths were already super white blonde. So we didn't extend.
- But in case you feel that the lengths need to go whiter, of course you can extend your toner application to these parts also.
Apply toner to the root area.

Step Three: Apply Purple Mask
- Now we are going to do a really nice, heavy application of Brilliant Blonde Purple Mask. With our fingers.
- For the lengths, this is the only toning that they are going to get (and that's all they need).
- And for the roots, this will be one more opportunity to whiten and make it all really consistent with the rest - no ugly banding!
Rub in the Purple Mask Really Thoroughly

- Wait about 10 minutes after applying, then rinse.
- Wash and blow dry and you're done!
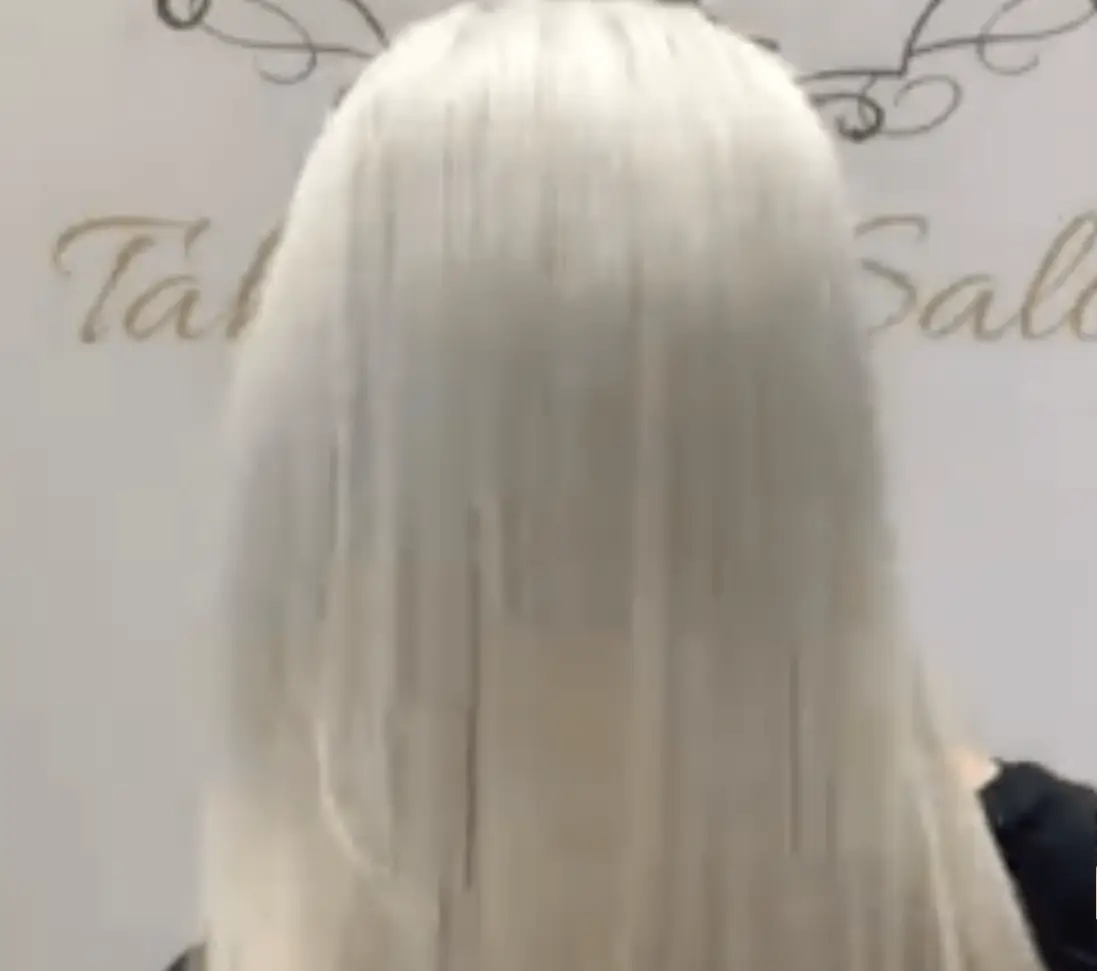
The Final Result - Consistent Ultra White Blonde Hair with No Line of Demarcation, No Banding
WATCH THE WHOLE VIDEO: How to Fix Dark Roots - With No Banding!
Hair by Elona Taki
Products Used:
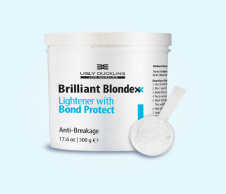
- Brilliant Blonde Lightener
- Pearl Blonde (10V) toner
- Developer
- Brilliant Blonde Purple Mask